How to Change Attribution Settings in Facebook and Instagram Ads
How to change Meta ad attribution by going to the ad set level, opening Show More Settings, and choosing between standard, incremental, or different click and view windows to balance data volume and quality.

Here’s a simple guide to adjusting attribution settings in Meta Ads Manager.
1. Go to the Ad Set Level
In your Meta ad account, open the campaign and proceed past the initial settings like budget and Advantage Plus catalog ads.
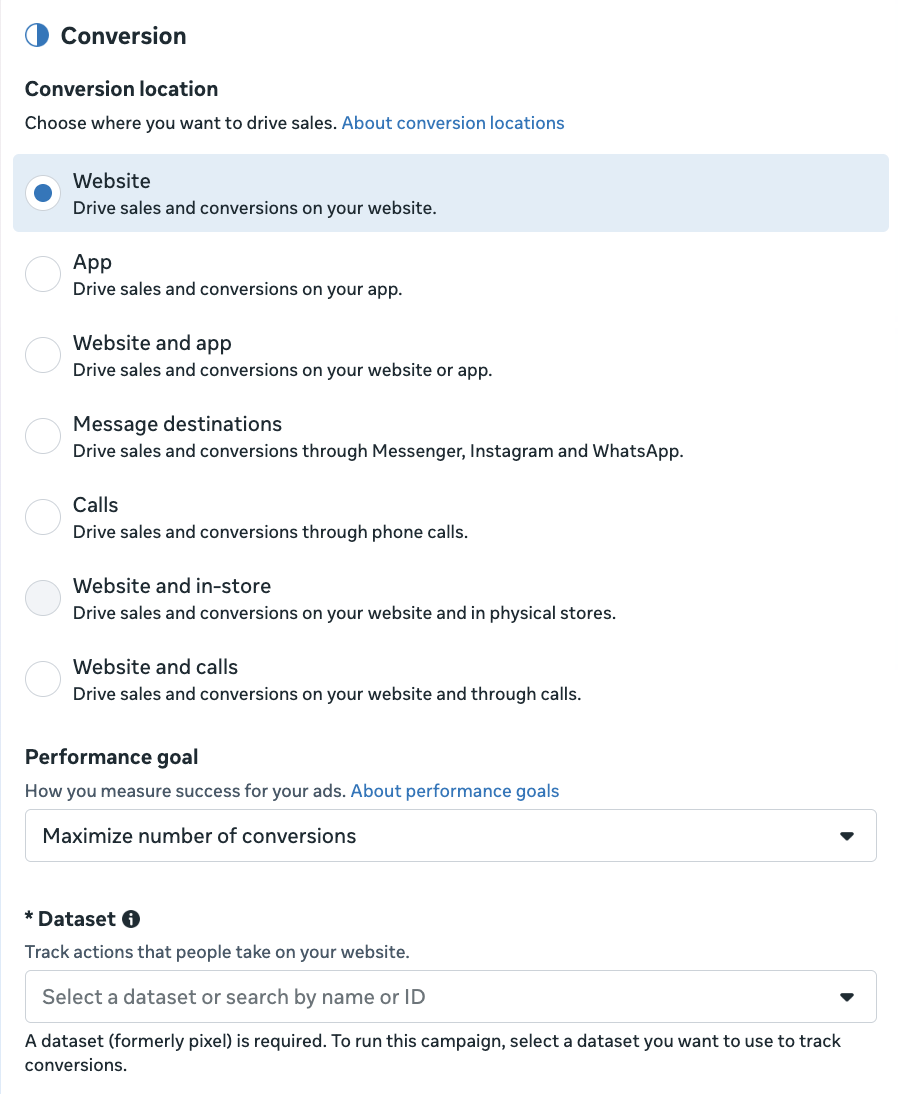
At the Ad Set level, select your Conversion Location (website and shop, website only, etc.) and confirm the correct pixel/dataset.
2. Open Attribution Settings

Click Show More Settings under Conversion Location.
In Attribution Setting, you can choose Standard Attribution or the newer Incremental Attribution.
- Standard Attribution is the default, using a 7-day click and 1-day view window.
- Incremental Attribution measures purchases that wouldn’t have happened without Meta ads.
3. Adjust the Click Window
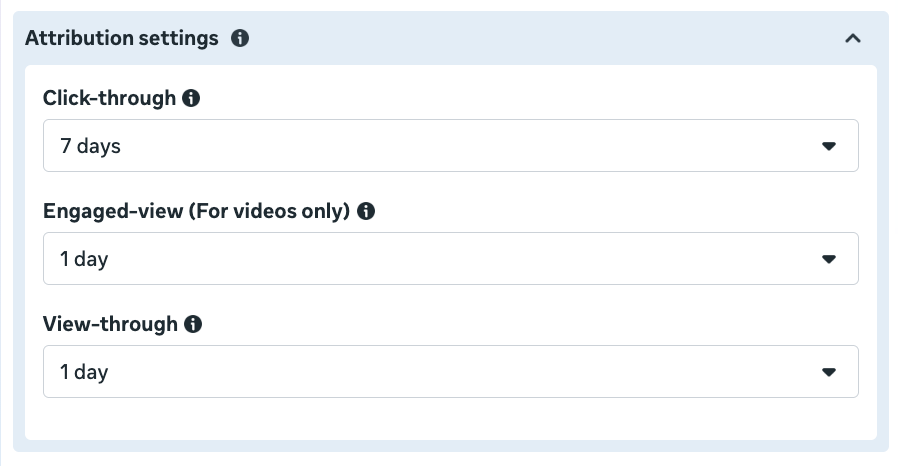
You can stay with the 7-day click window or tighten it to 1-day click.
- 7-day click captures customers who need time to decide and provides more data.
- 1-day click focuses on high-intent buyers who purchase within 24 hours, giving a smaller but higher-quality data set.
Turning off view-through attribution (the 1-day view) helps ensure Meta optimizes for clicks that lead to actual purchases, not just impressions.
4. Choose What Fits Your Goals
For most new advertisers, 7-day click with no view-through is a good starting point.
If you want to experiment, try Incremental Attribution to measure sales that truly depend on your ads.
To refine Meta’s targeting, adjust attribution at the ad set level: confirm your pixel, open Show More Settings, and select the click and view window that best balances data volume and quality for your campaign.
